
Automations
Configure no-code automations to streamline your workflows.
Overview
Automations are a no-code feature that enables you to establish workflows triggered by specific events on fact sheets. As an admin user, you can configure automations to eliminate manual tasks, enrich user engagement, facilitate collaboration, and ensure data quality within your workspace.
Only admin users can manage automations. To view and configure automations, in the administration area, navigate to Automations.
The following image shows the overall logic of automations.
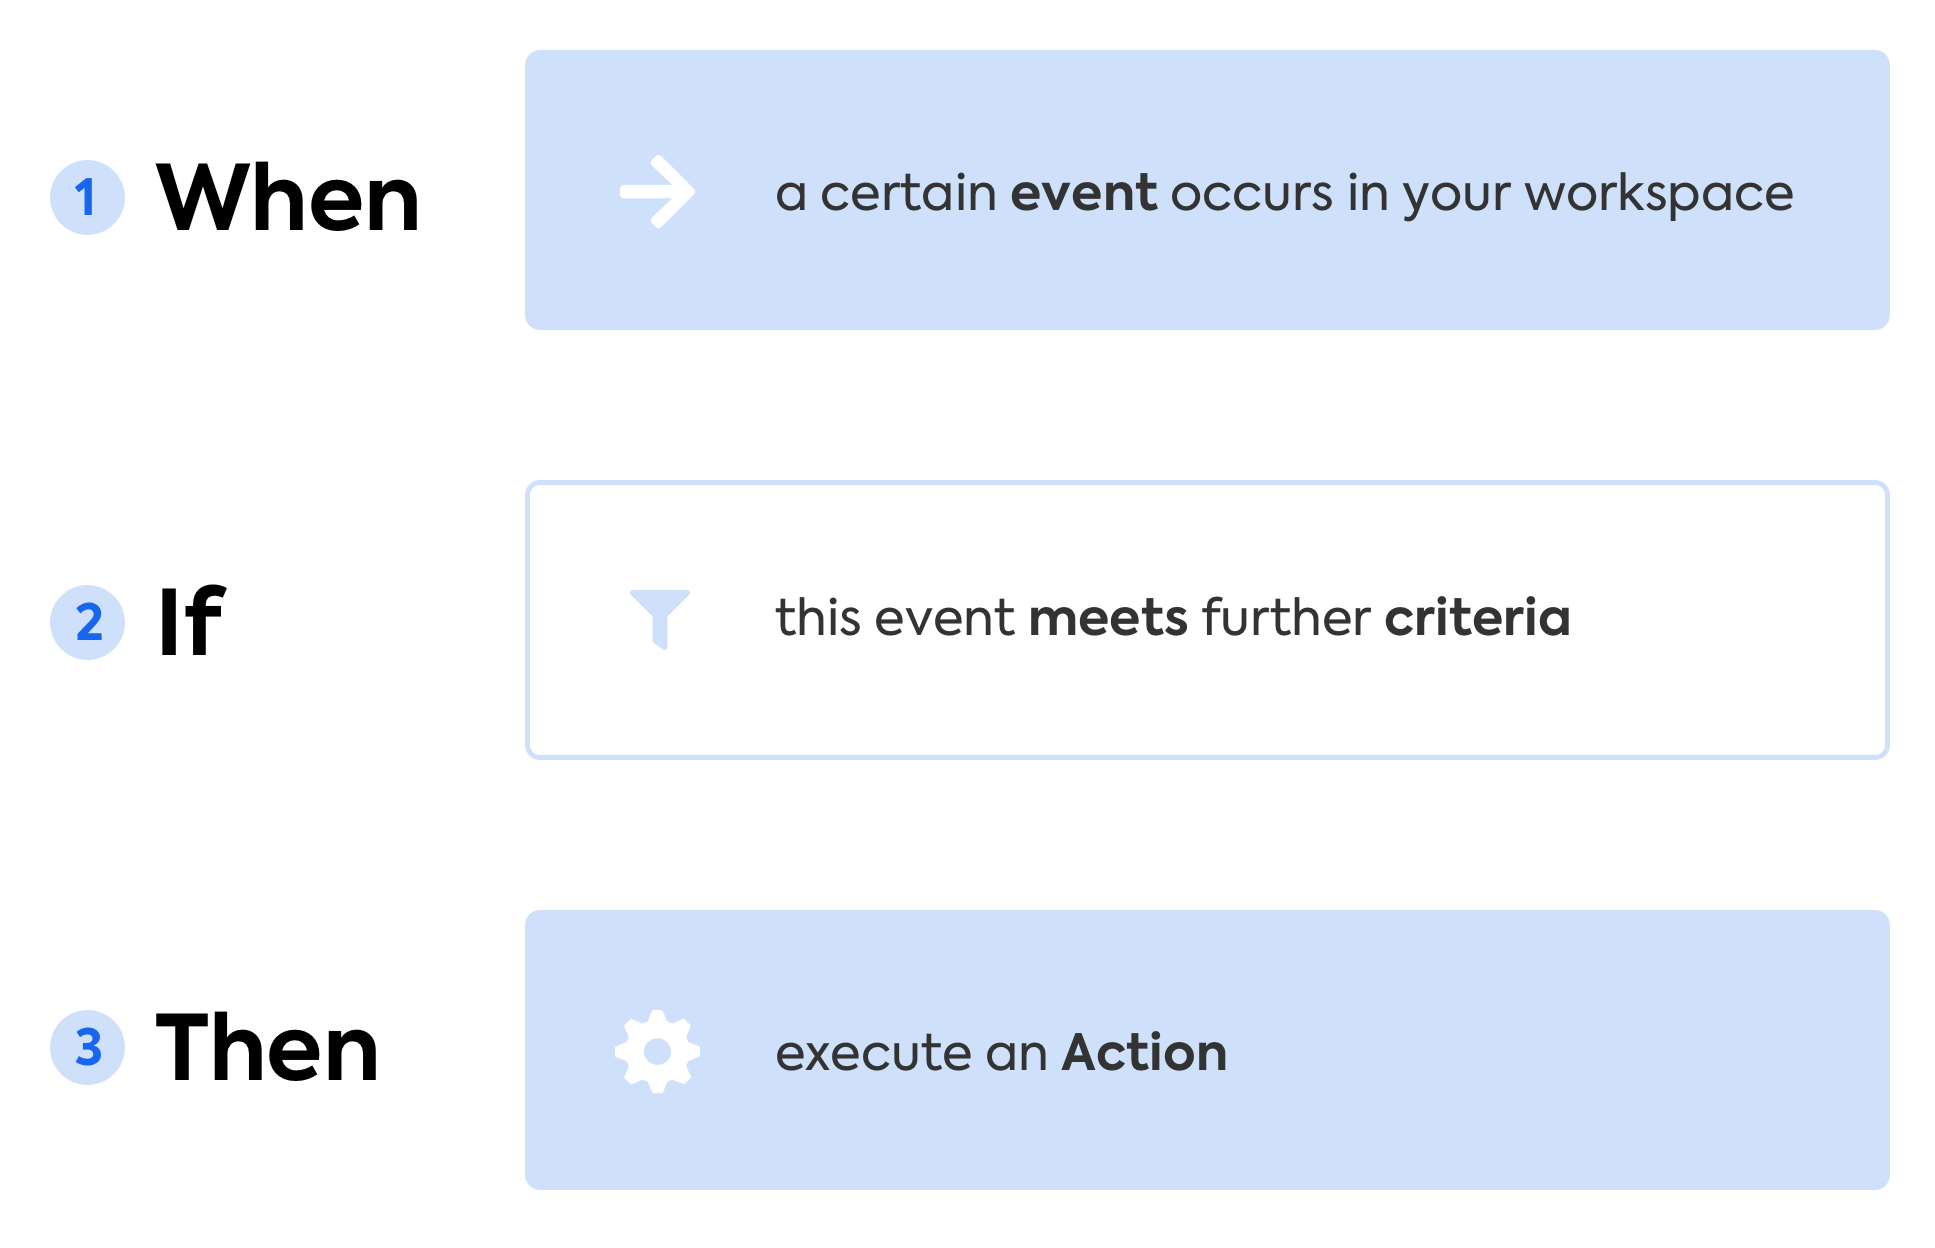
Configuration of Automations: Events, Conditions, and Actions
The processing times for automations are as follows:
- 95% of automations complete within 5 minutes under normal conditions.
- In scenarios that trigger multiple automations (for example, bulk updates or integrations), processing may take up to 30 minutes.
- Delays exceeding 1 hour trigger automatic escalations.
Automation Parameters
Each automation includes the following key parameters:
- Trigger
- Conditions
- Actions
Triggers
The following table lists the available triggering events for automations. When a triggering event occurs, the conditions are checked, and if met, actions are initiated.
A trigger is configured for a specific fact sheet type. The Fact Sheet Type list contains all fact sheet types defined in the meta model configuration. You can only select one fact sheet type.
| Event | Values | Additional Information |
|---|---|---|
| Fact sheet is created | N/a | The trigger is the creation of a fact sheet of a specific type. |
| Field changes | - String fields - Single-select fields - Unused fields | - String fields: Any changes to a string field trigger an automation. - Single-select fields: Select initial and target values in the From and To lists. These lists include specific values, as well as “Empty” and “Anything.” An automation is triggered when a field is updated from the selected source to the target value. |
| Lifecycle phase reached | - Field: all available lifecycle fields, including custom lifecycles - States: all defined phases of the lifecycle field | Important: This trigger is only checked nightly. Automation is triggered when the fact sheet reaches the selected lifecycle phase. Optionally, you can specify whether the automation should be activated before or after the specified lifecycle phase date is reached using the Trigger before/after toggle. Enable the toggle, then specify the number of days before or after the lifecycle phase date is reached. |
| Quality state changes to | - Approved - Broken - Draft - Rejected | The transition to the selected quality state triggers an automation. |
| Subscription is added | All subscription types and, if applicable, all combinations of subscription types and roles, as defined in the workspace configuration | You can only select one subscription type or, if applicable, a combination of a subscription type and role. |
| Subscription is removed | All subscription types and, if applicable, all combinations of subscription types and roles, as defined in the workspace configuration | You can only select one subscription type or, if applicable, a combination of a subscription type and role. |
| Tag is added | All tags configured for the selected fact sheet type | You can only select one tag. |
| Tag is removed | All tags configured for the selected fact sheet type | You can only select one tag. |
Note
The fields related to Obsolescence Risk are included in the meta model. However, these fields are calculated only at runtime in report views, and currently, automations cannot respond or trigger based on Obsolescence Risk related fields.
Conditions
The following table lists the available conditions for initiating automations. An automation is initiated only if all the specified conditions are met.
| Conditions | Values | Additional Information |
|---|---|---|
| Technical user | - Ignored - Included | Defines whether actions initiated by technical users should be included or ignored as triggering events. |
| Category | All categories defined for the selected fact sheet type | You can only select one category. |
| Tag(s) | All tags configured for the selected fact sheet type | You can select multiple tags. For single-select tag groups, you can only select one tag. |
| Single Select Field | All single-select fields of the selected fact sheet type and all of their values, as well as the Empty option | You can add multiple conditions for single-select fields to an automation. Within a condition, the OR logical operator is used, which means that any of the specified field values is included. |
Actions
The following table lists the available actions that are initiated by an automation.
| Actions | Values and Parameters | Additional Information |
|---|---|---|
| Create To-Do: Action item | - Action Item Name - Description - Assignees (Fact Sheet creator, Fact Sheet subscriptions, Fixed Fact Sheet subscriptions, Users) - Due (in days) - Users: fixed users - Due (in days) - Pause until "Marked as Complete" | Assigns a to-do item to users. Selecting the Fixed Fact Sheet subscriptions option for assignees enables you to dynamically assign user groups to fact sheets, which eliminates the need for manual maintenance in automations. The Pause until "Marked as Complete" toggle enables you to pause the execution of the following action in the sequence until the to-do is marked as complete. Any automation run that is not completed within 180 days is stopped. |
| Create To-Do: Approval | - Title - Description - Assignees (Fact Sheet creator, Fact Sheet subscriptions, Fixed Fact Sheet subscriptions, Users) - Due (in days) - Action when resolution status is "Rejected" (Set field, Set Quality State) | Creates an approval to-do that allows users to either approve or reject a to-do item assigned to them. For more information, see Approval To-Dos. Any automation run that is not completed within 180 days is stopped. |
| Set field | Single select-field values, as well as the Empty option | In the To list, select the value to be set on the fact sheet. |
| Set Quality State | - Approved - Broken - Draft - Rejected | Automations can only set the quality state to Approved when all the mandatory attributes are set. |
| Add subscription | - New subscriber (Fact sheet creator, User) - Subscription type and, if applicable, subscription roles | Adds a subscription only if the settings of the workflow and already existing subscriptions allow it. You can select only one subscription type but multiple subscription roles. |
| Set subscription | - New subscriber (Fact sheet creator, User) - Subscription type and, if applicable, subscription roles | Sets a subscription and overwrites all existing subscriptions of the selected user. You can select only one subscription type but multiple subscription roles. |
| Add tag | All tags configured for the selected fact sheet type | You can only select one tag. A tag from a single-select tag group replaces the currently assigned tag from this group. A tag from a multi-select tag group is assigned in addition to other tags from this group. |
| Remove tag | All tags configured for the selected fact sheet type | You can only select one tag. The automation removes the tag regardless of the tag mode. |
| Send Webhook | Webhook tag that serves as the automation identifier | For more information, see Sending a Webhook from an Automation. |
| Send Email | Specify the following: - Recipients: You can list up to 10 email addresses. To send notifications to more users, use distribution lists instead of individual addresses. - Subject: Create a custom email subject. If the subject exceeds 200 characters, it appears truncated. - Message: Craft a custom email body. The editor supports Markdown syntax. You can add placeholders for affected fact sheets to the email subject and body. Placeholders are available for the fact sheet display name and link. The system validates placeholders in the email body for correctness. Valid placeholders appear highlighted in green, while invalid ones are highlighted in red. | A custom email is sent to the specified recipients. Sent notifications appear in the audit log in the Notifications Center section of the administration area. To learn more, see Audit Log. |
Creating an Automation
To create an automation, follow these steps:
- In the administration area, navigate to Automations.
- Click New Automation.
- Enter a name and, optionally, a description for the automation.
- Select an owner for the automation.
Any workspace user can be an automation owner. They serve as a default assignee for "orphaned" to-dos created by an automation and as a default subscriber to a fact sheet when the intended user is unavailable (for example, when the user no longer exists). As a fallback solution for automations, owners are expected to reassign to-dos or modify subscriptions directed to them as needed. - In the When section, specify the trigger for the automation:
- In the Fact Sheet Type list, select a fact sheet type.
- In the Event list, select an event for which the automation is triggered.
- Depending on the event that you selected, specify the required values.
- In the If section, specify conditions for the automation.
- Decide whether you want to include or exclude events initiated by technical users.
Technical users are used in integrations, the reference catalog, and more. Excluding events initiated by technical users is beneficial when you want to prevent triggering automations from mass changes to your workspace. For example, you might not want an approval to be triggered when a fact sheet is created from the catalog. - Optional: Specify one or more additional conditions: fact sheet category, assigned tags, or single-select field values. An automation is initiated only if all the specified conditions are met.
You can add multiple conditions for single-select fields to an automation. Within a condition, the OR logical operator is used, which means that any of the specified field values is included.
For tags, the AND logical operator is used within a condition, which means that all of the specified tags must be included.
- Decide whether you want to include or exclude events initiated by technical users.
- In the Then section, specify actions for the automation.
You can add up to 100 actions for an automation. Actions are initiated sequentially in the order that you specify. - Decide whether you want to activate the automation after saving it or only save it in draft state:
- To activate the automation after saving it, click Save and Run Automation.
- To save the automation in draft state, click the arrow button, then click Save in Draft State.
Creating an Automation by Copying an Existing Automation
You can copy an existing automation, which enables you to create another automation with similar configuration parameters without having to configure them from scratch.
To copy an automation, on the Automations page, hover over an automation, then click the copy button that appears.
When you copy an automation, the copy is created in draft state. Before you activate the copied automation, edit the configuration parameters to ensure that you don't have two duplicate automations.
Sending a Webhook from an Automation
You can create automations where the action is sending a webhook to a target URL. With no-code automations that trigger a webhook, you get the following benefits:
- You can trigger external workflows from automations. To set up workflows, you can use an automation platform of your choice, such as SAP Integration Suite, Microsoft Power Automate, and more. You can also use any alternative method for processing webhook payloads and initiating event-based actions. Depending on your requirements, you can configure workflows for a wide range of scenarios: from updating your workspace data to sending notifications to users.
- You don't need to create a callback to manipulate the webhook payload. Instead, you can select an event that triggers the automation and specify additional conditions in the automation configuration. This allows you to set up granular notifications for specific fact sheet events through webhooks.
- You can configure a trigger for single-select fields that change from value A to B, which is not possible with standard webhooks. This enables you to compare values and initiate workflows for specific field changes.
Note
The purpose of sending a webhook from an automation is not to provide a payload with comprehensive fact sheet data, but rather to send notifications once the specified conditions are met. This enables you to configure granular event-based workflows. For an example webhook payload, see AUTOMATION_TRIGGERED.
To view best practices for automations with a webhook action, see Best Practices and Use Cases for Automations with Webhooks.
Creating an Automation with a Webhook Action
To create an automation with a webhook action, first create an automation, then create a PUSH webhook for the AUTOMATION_TRIGGERED event. For instructions, see Creating an Automation with a Webhook Action.
Managing Automations
Once you've created automations, you can edit, duplicate, deactivate (if active), activate (if inactive), or delete them. To perform these actions, on the Automations page, hover over an automation, click the three-dot button that appears, then select the option that you need.
- When you deactivate an automation, further actions will not be initiated, but actions in progress are not canceled.
- When you delete an automation, this action cannot be undone. Instead of deleting an automation, consider deactivating it first.
You can filter automations by owner, status, and fact sheet types. To apply filters, click Add Filter, then select filtering criteria.
Viewing Statistics for Automations
To view the limit and quota of automations used in the current month, navigate to the Statistics tab on the Automations page. Every execution of an automation increases the quota by one.
The monthly automation limit varies by workspace type:
- Demo and sandbox workspaces allow up to 10,000 automations per month.
- Production (live) workspace limits correlate with the application limit.
Administrators receive notifications when usage reaches 80% of the monthly quota and when the limit is reached, ensuring timely responses if needed.
Best Practices
To view best practices and use cases for automations, see Automations Best Practices.
Updated 22 days ago