
Searching and Filtering in the Inventory
Searching and filtering in the inventory helps efficiently manage your data. Learn how to quickly find fact sheets, apply filters, manage filters, and save search results for future access.
Introduction
Searching and filtering in the SAP LeanIX inventory is a powerful way to efficiently manage and navigate a large number of fact sheets. You can quickly find a specific fact sheet or apply filters to narrow down fact sheets to the necessary subset. Additionally, you can search for specific filters or filter groups to easily apply the right filter criteria. You have the flexibility to manage these filters, choosing which ones to display or hide on the filter panel based on their relevance. Furthermore, you can save the search results for quick access in the future.
Searching and Filtering
The search field in the navigation bar helps you quickly find a specific fact sheet. As you type, suggested fact sheets appear in the drop-down list, allowing you to select and jump straight to the desired fact sheet. The full-text search capability also allows you to search for and list all fact sheets containing the searched term.
Clicking on the Add Filter button opens the smart search overlay. In the smart search overlay, you can do full-text searches, search and apply filters, as well as jump straight to a desired fact sheet by selecting it from the suggestions.
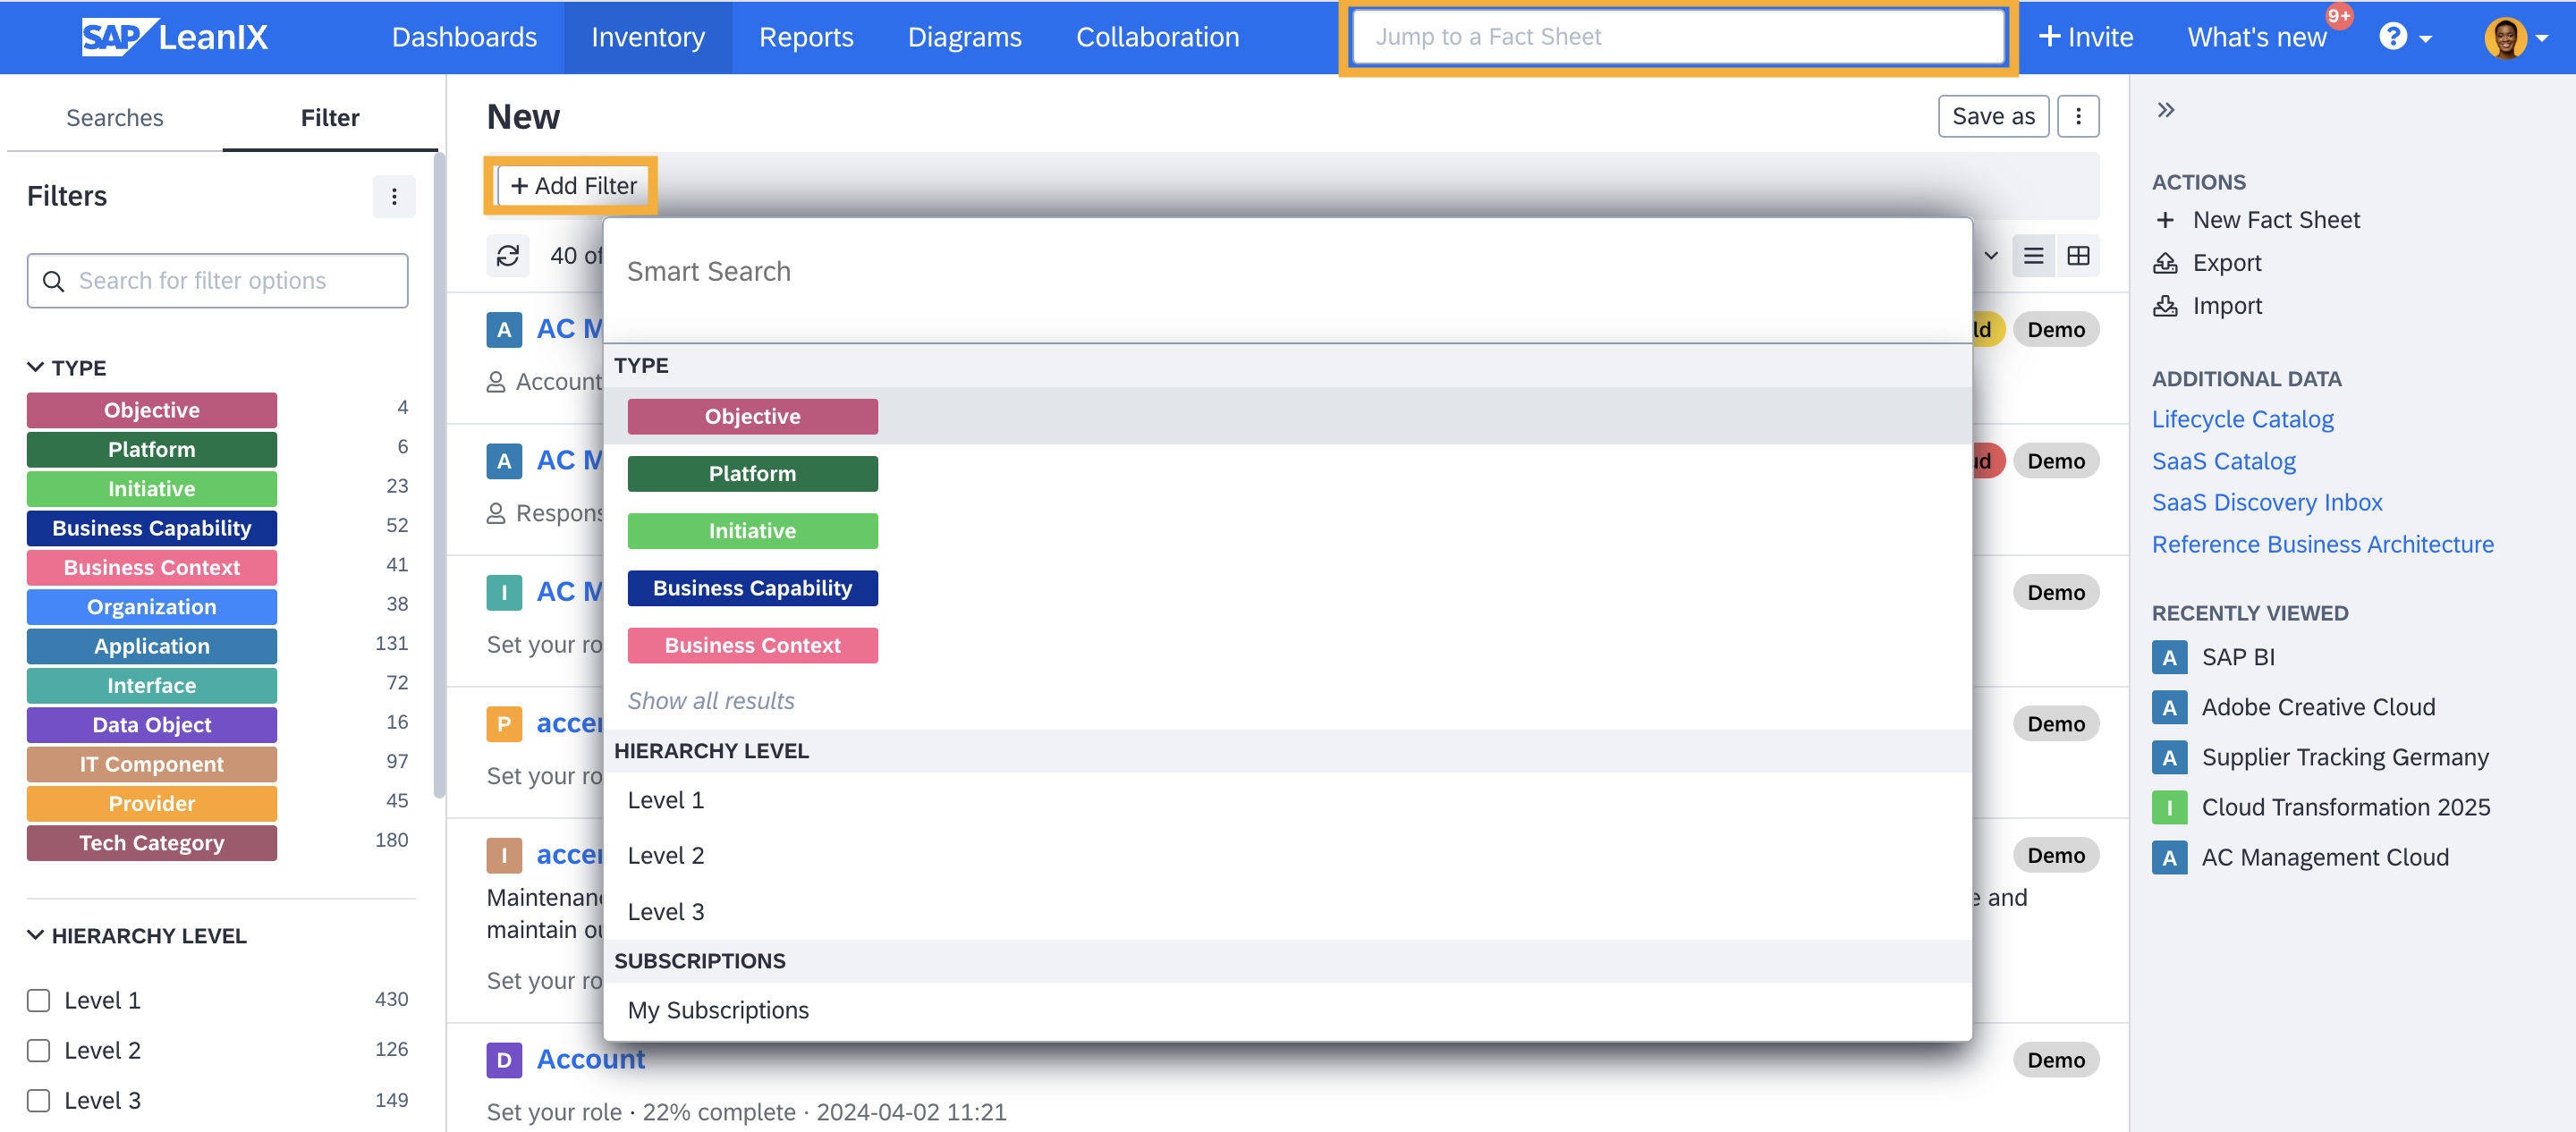
Search Field in the Navigation Bar and the Add Filter Button for Smart Search
Searching and Applying Filters
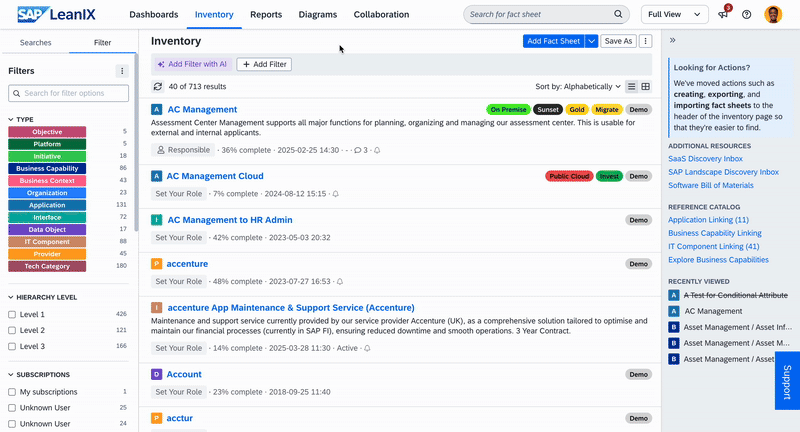
Searching for a filter lets you easily find and apply the right filter. You can search for a specific filter by clicking Add Filter button ( '+' icon when a filter is already applied) in the filter bar of inventory.

Searching and Applying a Filter
Search Result's Expiry
The system retains search results in memory for 5 minutes. If you try to scroll through the results after more than 5 minutes, you may receive an error message prompting you to re-run your search.
Searching and Filtering Using Natural Language
Note
This feature is available if you have enabled AI capabilities for your workspace. To learn more, see AI Capabilities.
If AI capabilities are enabled in your workspace, you can use natural language queries to filter and find fact sheets more easily. The system interprets your query and automatically applies the corresponding filters to narrow down the list of fact sheets.
This makes it easier for all users, including those without in-depth SAP LeanIX knowledge, to search and apply filters quickly and intuitively.
To search and filter fact sheets using natural language, do the following:
- In the inventory, click Add Filter With AI.
- Enter your search/filter request in plain language (e.g., "Show me my apps").
- Click Apply to see the filtered results.
You can modify the generated filter manually or refine your natural language query for better results.
Searching and Filtering Using Natural Language
You can combine multiple conditions in a single query. For example: "Show me applications that are used in Germany and store sensitive data objects." It also takes into account your custom attributes, provided you have configured them to be shown in filters.
Some example queries:
- "Which data objects are sensitive?"
- "Which software is going out of life this year?"
- "Which software is out of life and still has active applications?"
- "Which applications has Frank Martin been responsible for?"
- "Which applications run on .NET technology?"
- "Which applications store sensitive data objects?"
- "Which applications are used in Germany or the US with functionality in HR Payroll?"
Applying Filters From the Filter Panel
The filter panel on the left provides advanced options for applying and managing available filters. While numerous filter criteria are available, initially, only some filter criteria are listed to maintain a clean layout and simplify user experience. You can configure which filter groups are to be shown or hidden based on your specific needs. Additionally, the filter groups visible on the filter panel depend on the selected fact sheet type; when you choose a specific fact sheet type, associated filter groups are listed accordingly.
Searching for Filter Groups
With numerous filter criteria available, being able to search for specific filter groups enables you to quickly find the most relevant options for your needs. For example, if you are looking for filters related to application lifecycle status, you can search for ‘lifecycle’ and immediately see all lifecycle filter options.
Searching for Filter Groups
Displaying and Hiding Filters
You can manage which filter groups you want to display or hide on the filter panel based on your needs and frequency of use. To do so:
- Go to the menu at the top right of the filter panel.
- Select Manage filters.
- Select and make filter groups visible or hidden.
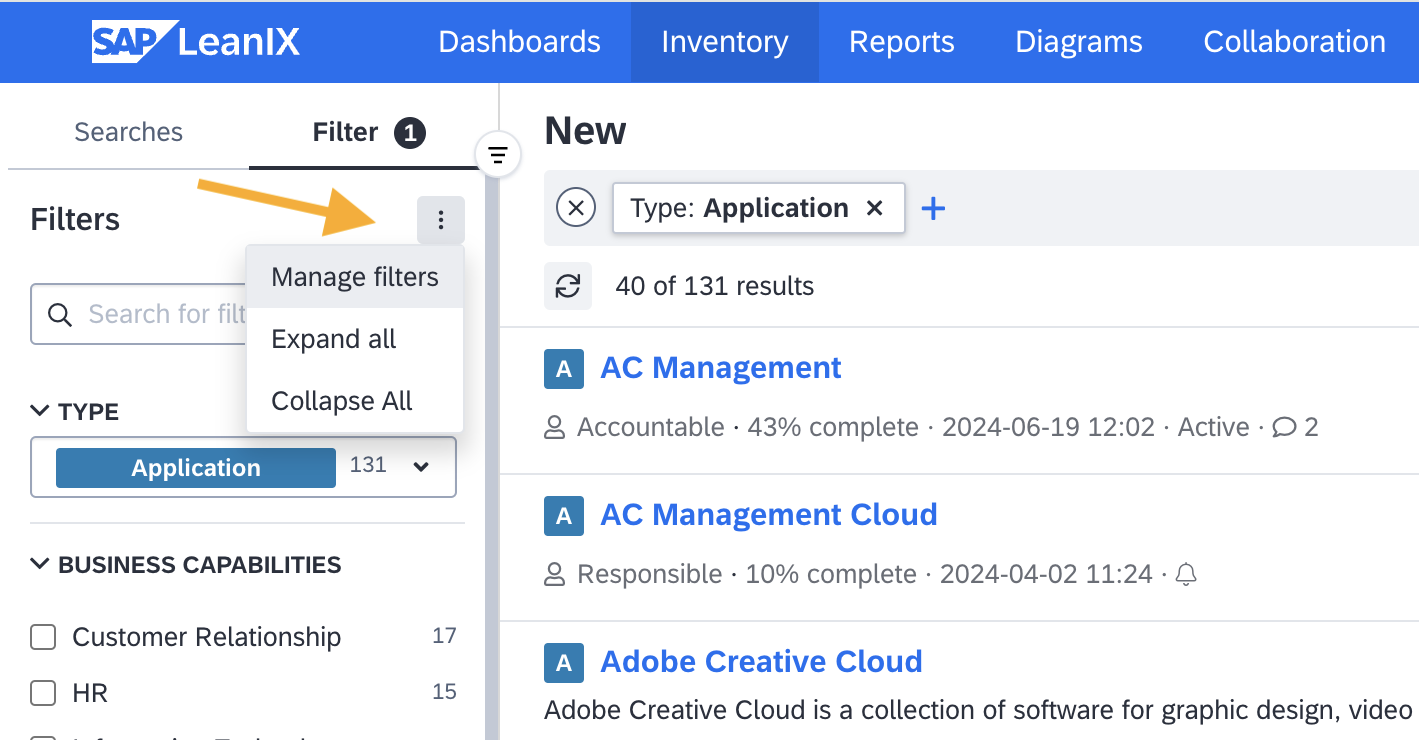
Displaying or Hiding Filters Through the Manage Filters Option
Advanced Filter Options
Filtering is a powerful feature to slice and dice the data for effective analysis. You can learn more about advanced filter options in Advanced Filter Options.
Saving Search Results
You can save searched and filtered results to quickly access a specific list of fact sheets anytime in the future. This is valuable when you frequently access specific lists or when you want to preserve the results of complex searches for future reference. It saves time and effort by eliminating the need to recreate search and filter parameters each time.
For example, in a cloud transformation initiative, you may need to frequently access on-premise applications that have a strong functional fit and belong to certain specific business units. By applying the necessary filters and saving the search results, you can always access the results easily.
To save a search result:
- Click Save as at the top right corner.
- In the resulting overlay, give a name and set read and write permission.
- Click Save.
You can access the saved searches by selecting the Searches tab in the filter panel on the left. You can edit, delete, or share your saved search by accessing Manage Searches from the menu next to the Save as button.
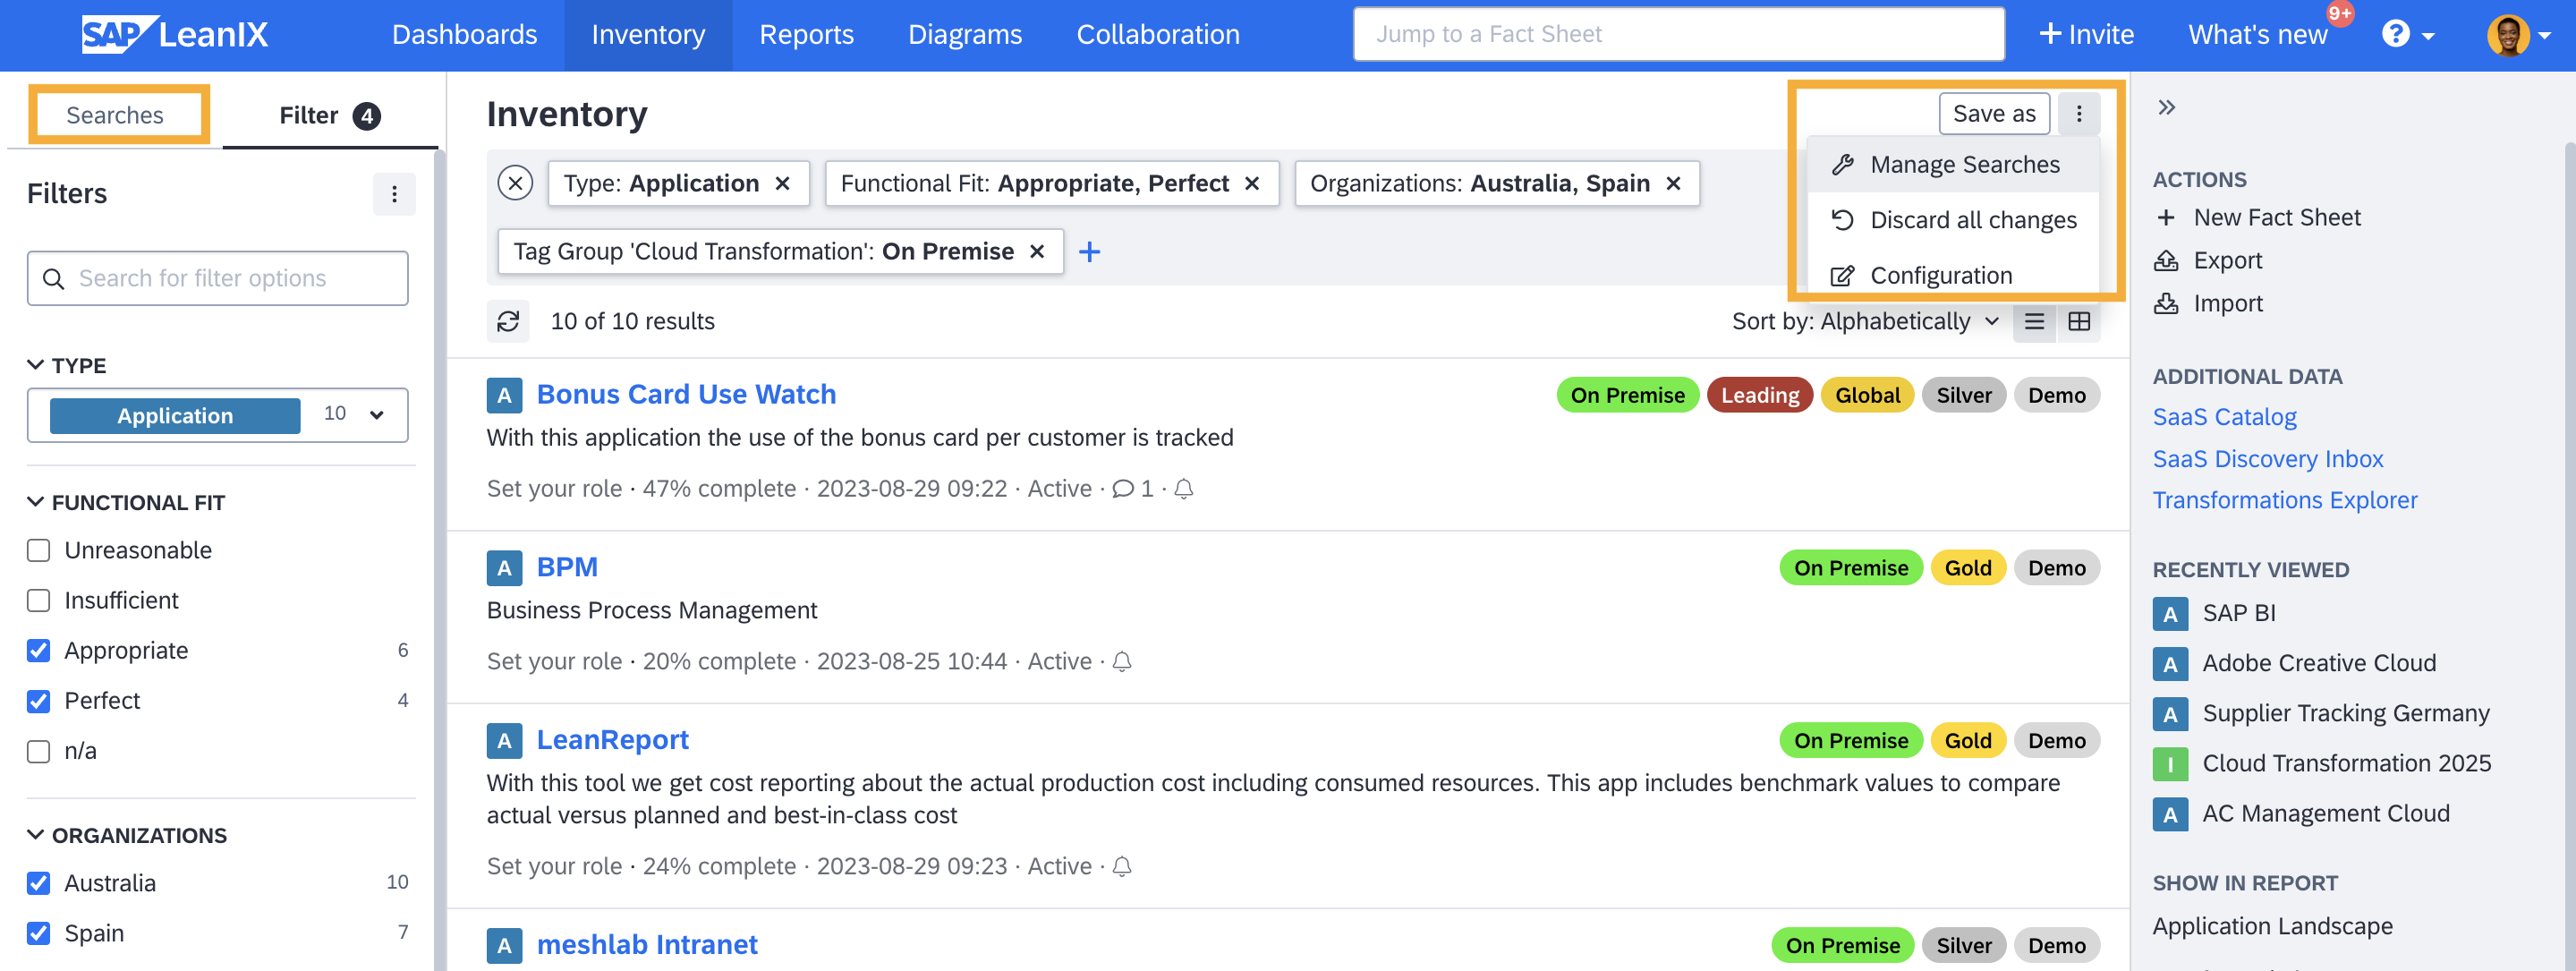
Saving, Accessing, and Managing Search Results
Viewing Filtered Fact Sheets in Reports
You can seamlessly transition from inventory to reports without needing to remember or save the applied filters. In the right-side panel, under Show In Report, all relevant reports for the filtered list of fact sheets are displayed. Select any report to see the fact sheets filtered using the same criteria you applied in the inventory.
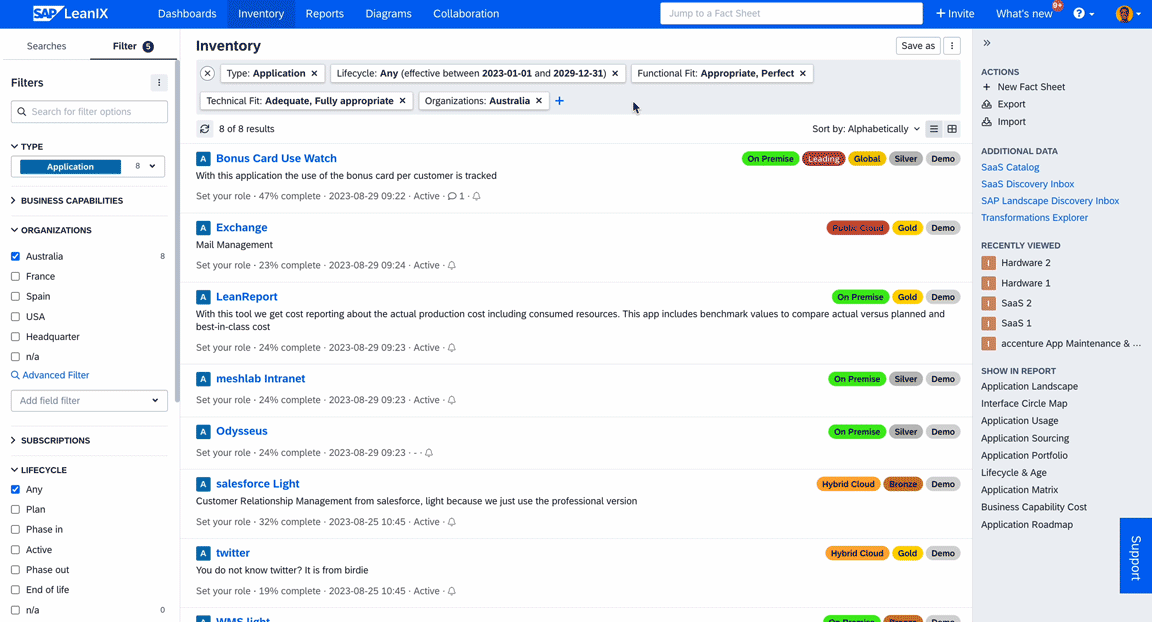
Viewing Filtered Fact Sheets in Reports
Note
This functionality is also available for configured and custom reports if the configuration of the report contains a “factSheetType”: “{facsheettypename}” element.
Updated about 1 month ago