
Transformations
Learn how to define and manage Transformations in the Initiative Fact Sheet.
Note
SAP LeanIX Architecture and Road Map Planning was previously known as Business Transformation Module (BTM).
Transformations are a feature in the Initiative Fact Sheets that help you detail the actionable changes in realizing a project. SAP LeanIX Architecture and Road Map Planning provides predefined Transformations, such as ‘Rollout Application,’ ‘Upgrade Technology,’ ‘Decommission Interface,’ etc. When a Transformation is applied, SAP LeanIX Architecture and Road Map automatically creates or updates relations and fields in the Fact Sheets affected by those Transformations. Additionally, those actions are automatically classified and can be seen as Impacts.
Modeling Transformations allows users to preview and contextualize the outcomes of IT Initiatives without implementing changes in the active (as-is) version of the architecture. In essence, Transformations provide a comprehensive way to assess and understand the potential effects of Initiatives before committing to implementation.
Transformation Templates
SAP LeanIX Architecture and Road Map Planning provides predefined templates to cover the most common changes for applications and interfaces. The templates provide sufficient context to help you easily complete them. As you fill out a template, the system automatically aggregates the impacts associated with each Transformation. Additionally, each template can be customized by defining additional impacts, but such customization is not obligatory.
The following table lists the available predefined templates:
| Transformation Template | Purpose |
|---|---|
| Introduce New Application | Introduce a new Application to several Organizations and/or Business Capabilities. |
| Change Application Technology | Upgrade or replace a technology of an Application. |
| Rollout Application | Roll out an existing Application to several Organization and/or Business Capabilities. |
| Discontinue Application | Move an Application into phase out. |
| Withdraw Application | Remove an Application from a selection of Organization and/or Business Capabilities. |
| Decommission Application | Move an Application to end of life. |
| Introduce New Interface | Introduce a new Interface. |
| Decommission Interface | Move an Interface to end of life. |
| Change Interface Technology | Upgrade or replace a technology of an Interface |
| Change Data Transfer | Change the data that is transferred via an Interface. |
In addition to predefined Transformations, you can also define Custom Transformations tailored to document specific architectural changes according to your requirements.
Creating and Managing Transformations
Transformations are outlined within Initiative Fact Sheets. You can manage them through a dedicated tab labeled Transformation, where you can create, edit, and execute various Transformations associated with your initiatives.
Creating Transformations
You can create a single transformation or multiple transformations at once. To create a transformation, follow these steps:
-
Navigate to the Transformation tab within the Initiative Fact Sheet. Click on New Transformation, which will open the Transformation template panel.
-
Choose the needed template from the Transformation template panel. In the example shown below, we are introducing a new application.
-
Fill in all the necessary fields in the template. In this instance, as we are introducing a new application, include details such as the application's name, the relevant Organization or region it is being introduced, the supported Business Capability, etc. Only the name of the Transformation is mandatory, and you can provide all other details later as well.
-
Click Save.
Creating Transformations
With this, you have successfully created a Transformation item to introduce a new application. As an impact, a new Application Fact Sheet is created in your workspace.
Note
The status of the newly created Application Fact Sheet as part of Transformation item will remain as 'Planned,' and it won't be factored into the pricing of your edition until you choose to execute the transformation.
You can review the implied impacts and include additional impacts to the Fact Sheets in the scope. By default, all implied impacts create a direct relation to model changes. However, it's also possible to change this and use the “active from/until” field on the relation for added flexibility.
Creating Multiple Transformations at Once
Instead of creating each transformation individually, you can create numerous transformations in one go by switching to table view mode. It is particularly useful when dealing with a large number of changes, which can be tedious and time-consuming, for example, for initiatives like ERP transformation.
To create multiple transformations in one go, do the following:
-
Open the initiative fact sheet in which the transformations are to be created.
-
Go to the Transformations tab and switch to table view mode by selecting the table icon.
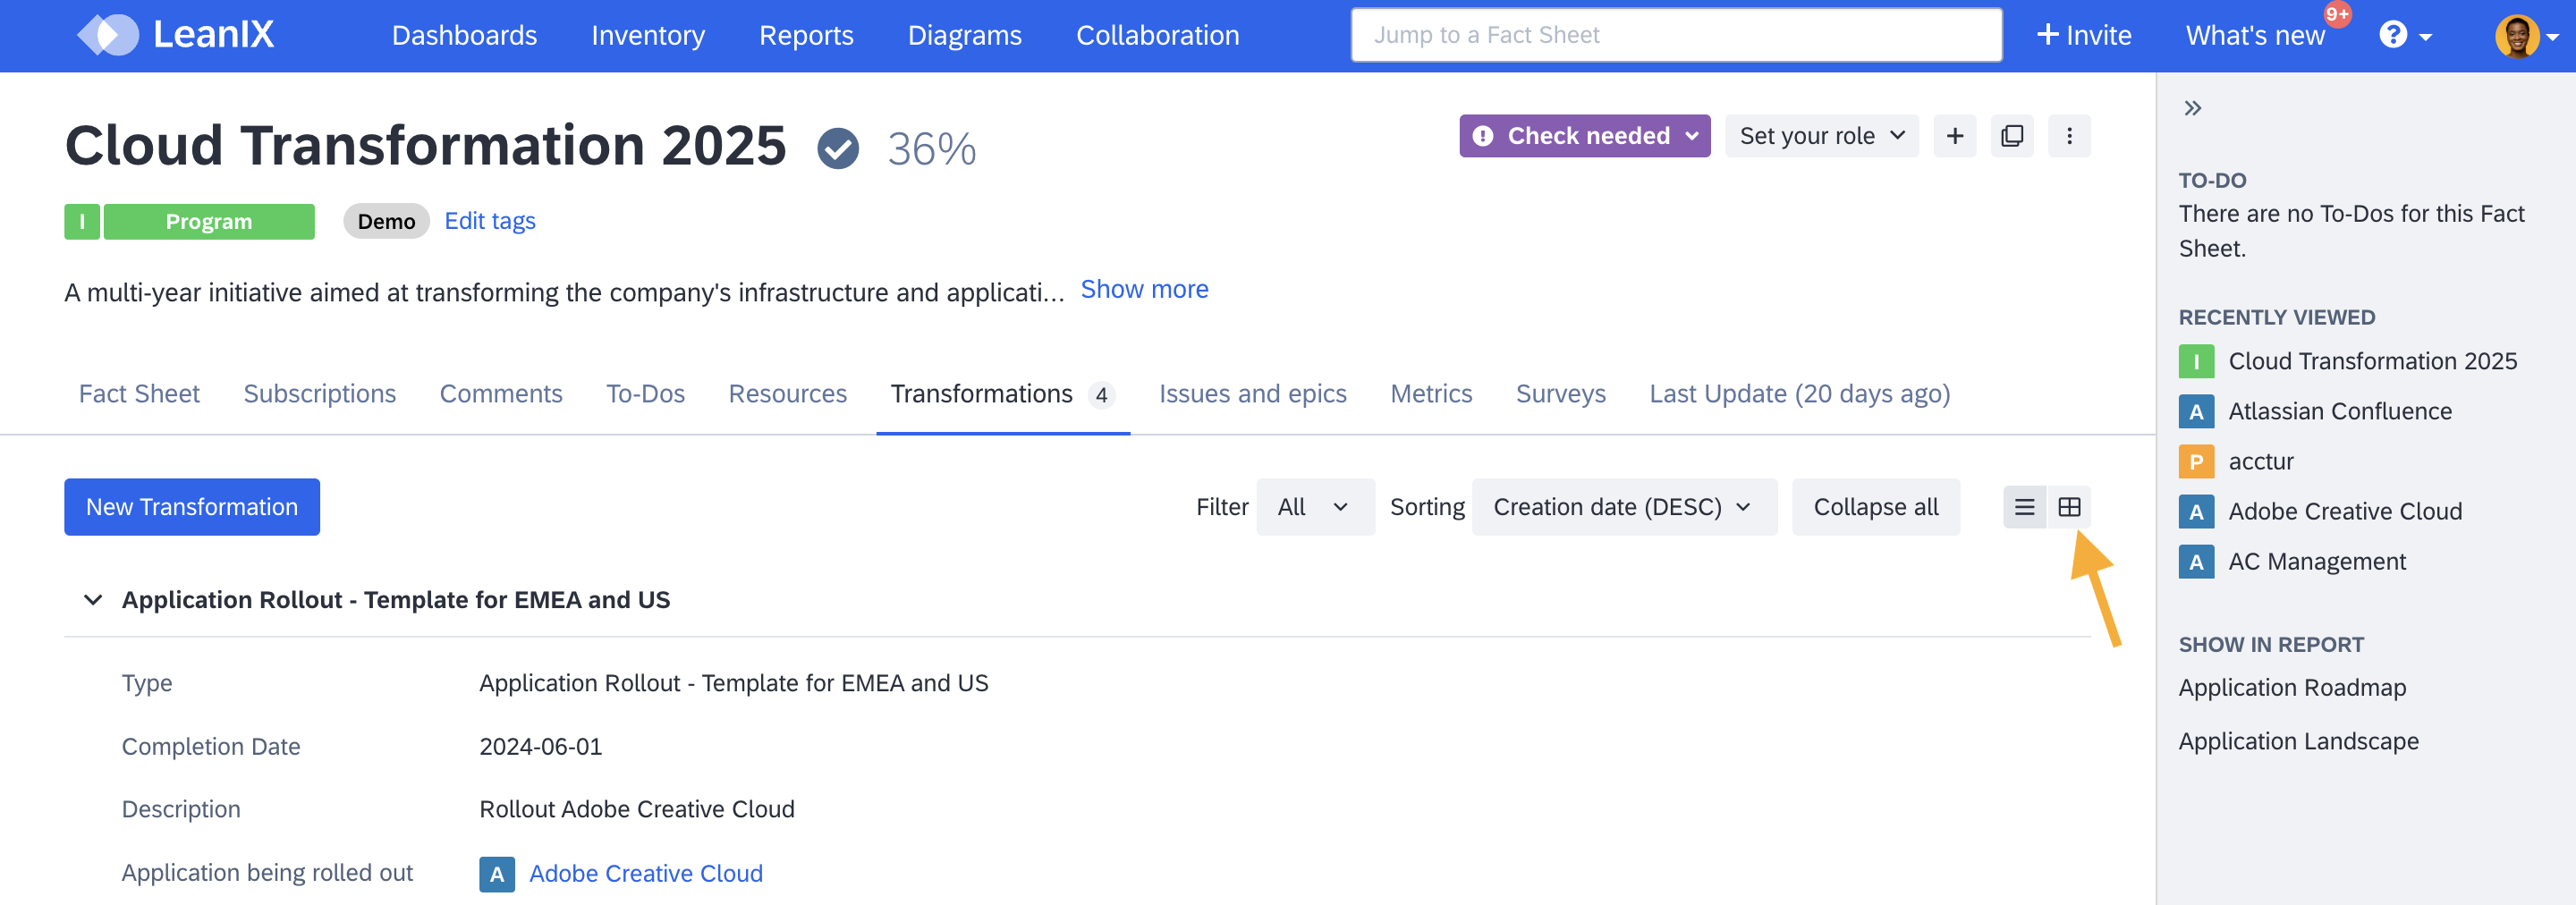
Selecting Table View Mod
-
By default, transformations of only one type are listed in the table. From the drop-down menu above the table, select the type of transformations to be listed.
-
At the bottom left corner of the table, hover over the '+' icon and click Create Transformations.
-
Depending on the transformation type, relevant fact sheet types are listed. Select the required fact sheet type from the list.
-
From the overly that opens, select all the fact sheets and click Use Selected Fact Sheets.
-
Complete the information in other columns as needed.
- You can copy and paste information from cells and also autofill columns by pulling down the drag handle at the bottom right corner of a cell.
- While editing completion dates, you can choose between dates or milestones.
-
Click Save at the end to complete.
Creating Multiple Transformations at Once
Alternatively, you can right-click on any column containing fact sheets and select Create Transformations. Ensure you are in edit mode before doing this by clicking Edit first in the upper-right corner of the table.
Viewing and Managing Transformation Items
To view all Transformations affecting an Application or any specific Fact Sheet, navigate directly to the Fact Sheet's Transformation tab. In the Transformation tab of the Fact Sheets, you can view the initiatives in progress and edit or execute any Transformations.
Transformation Explorer provides an additional way to gain an overview of all existing Transformation items. Learn more about it in the later section - Transformation Explorer.
Editing Transformations
To edit a Transformation item, follow the below instructions:
-
Hover over the transformation you want to edit, and you will see the Edit button appear at the top right corner.
-
Click Edit.
-
Make the necessary edits to the required fields, and then click Save to finalize the changes.
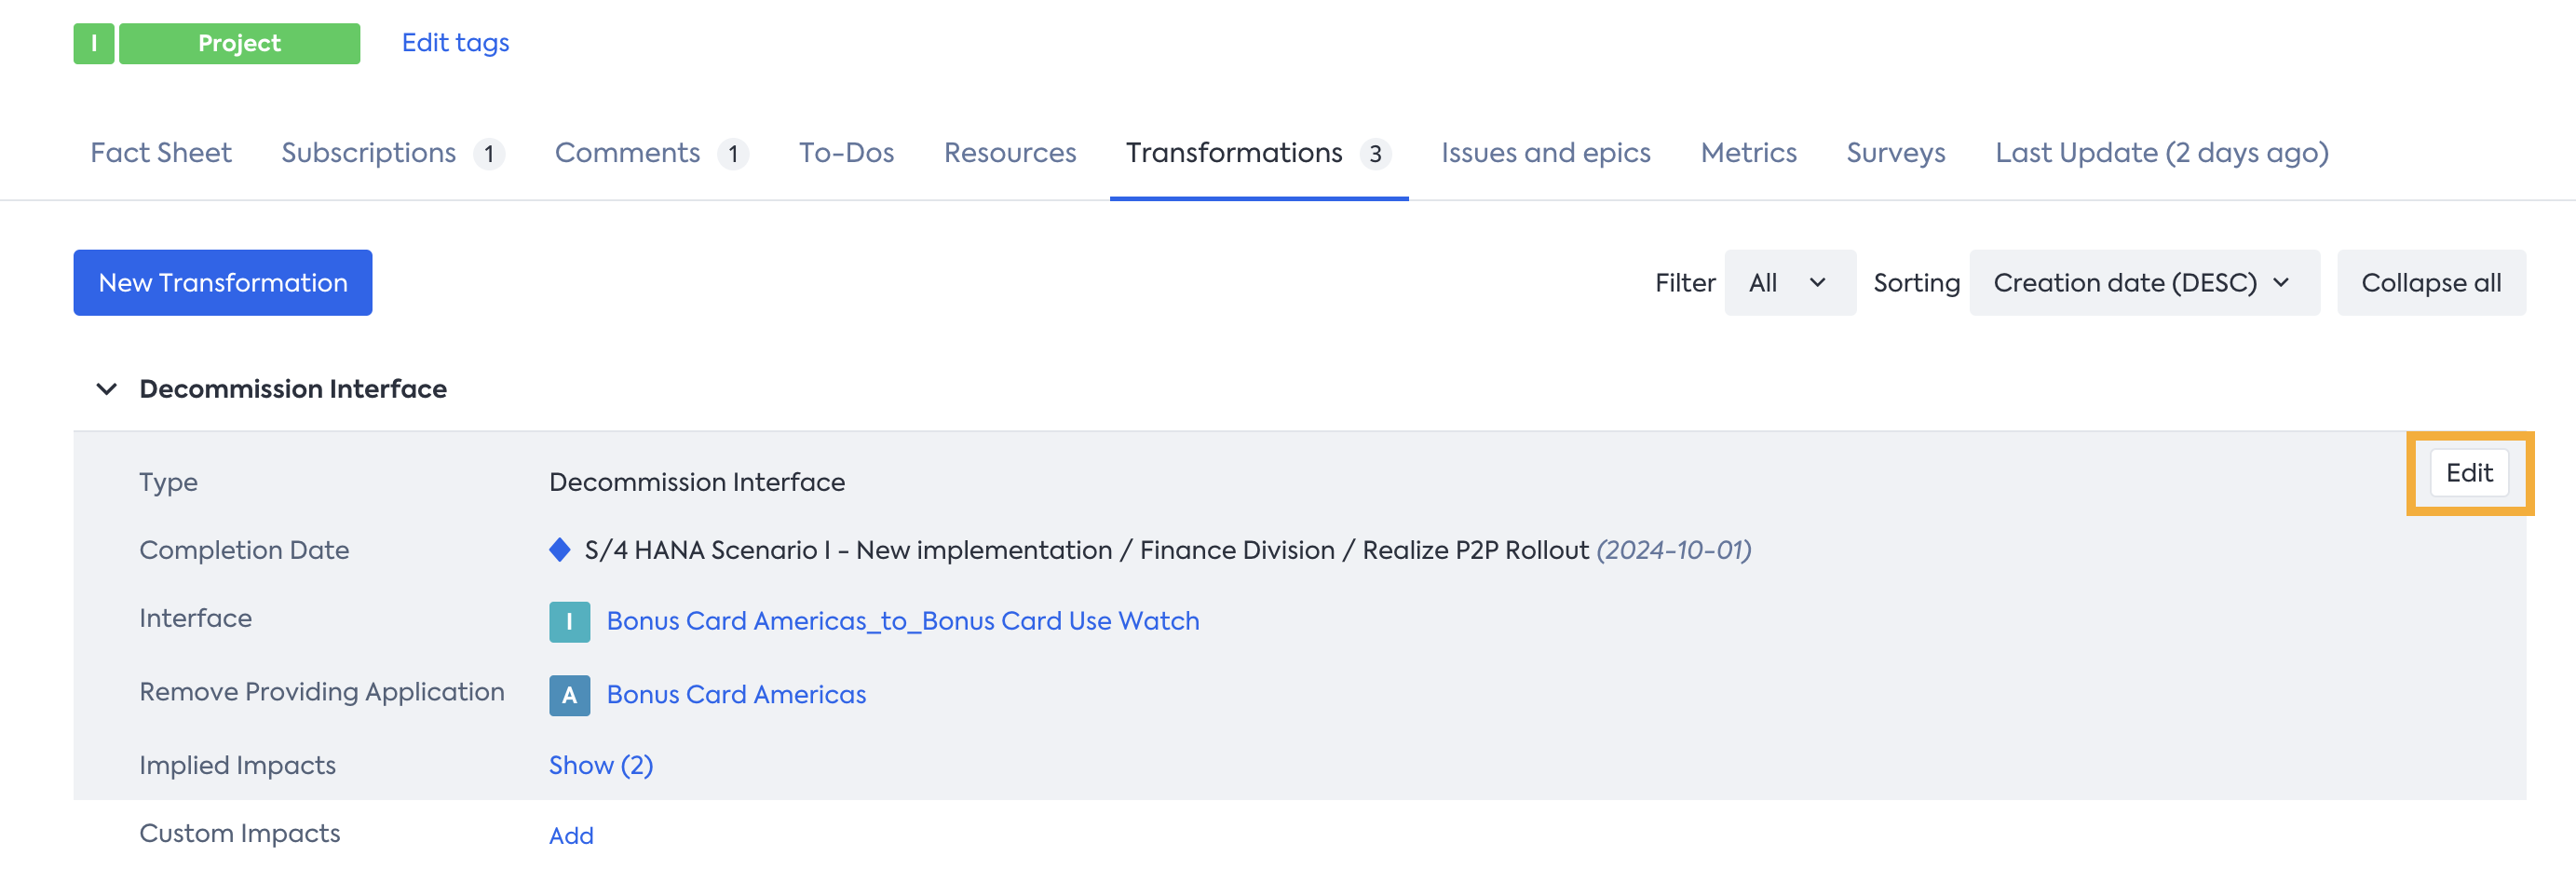
Editing Transformations
Editing Transformation Items in Bulk
You can edit defined transformation items in bulk by selecting the table view mode. This simplifies the management of transformations, particularly when dealing with a large number of changes, which can be tedious and time-consuming.
In the table view mode, you can edit any field, including the name, description, dates, fact sheets, tags, and any field values of the transformation items. Additionally, you can filter transformation items based on transformation type, sort the list by columns, and delete transformation items that are not needed.
To edit transformation items in bulk, do the following:
- In the Transformations tab of the initiative fact sheet, switch to table view mode by selecting the table icon next to the Collapse all button.
- By default, transformations of only one type are listed in the table. From the drop-down menu above the table, select the type of transformations to be listed.
- Click Edit, and make the necessary changes in the cells.
- You can copy and paste information from cells and autofill columns by pulling down the drag handle at the bottom right corner of a cell.
- While editing completion dates, you can choose between dates or milestones.
- You can delete a transformation item by right-clicking and selecting Delete Transformation.
- Click Save to complete.
Editing Transformation Items in Bulk
Deleting Transformation Items
To delete a Transformation item, follow the below instructions:
-
Navigate to the Transformation tab in the Fact Sheet.
-
Hover over the name of the Transformation you want to delete, and you will see the three-dot menu icon appear in the right corner.
-
Click on the three-dot menu icon and select Delete
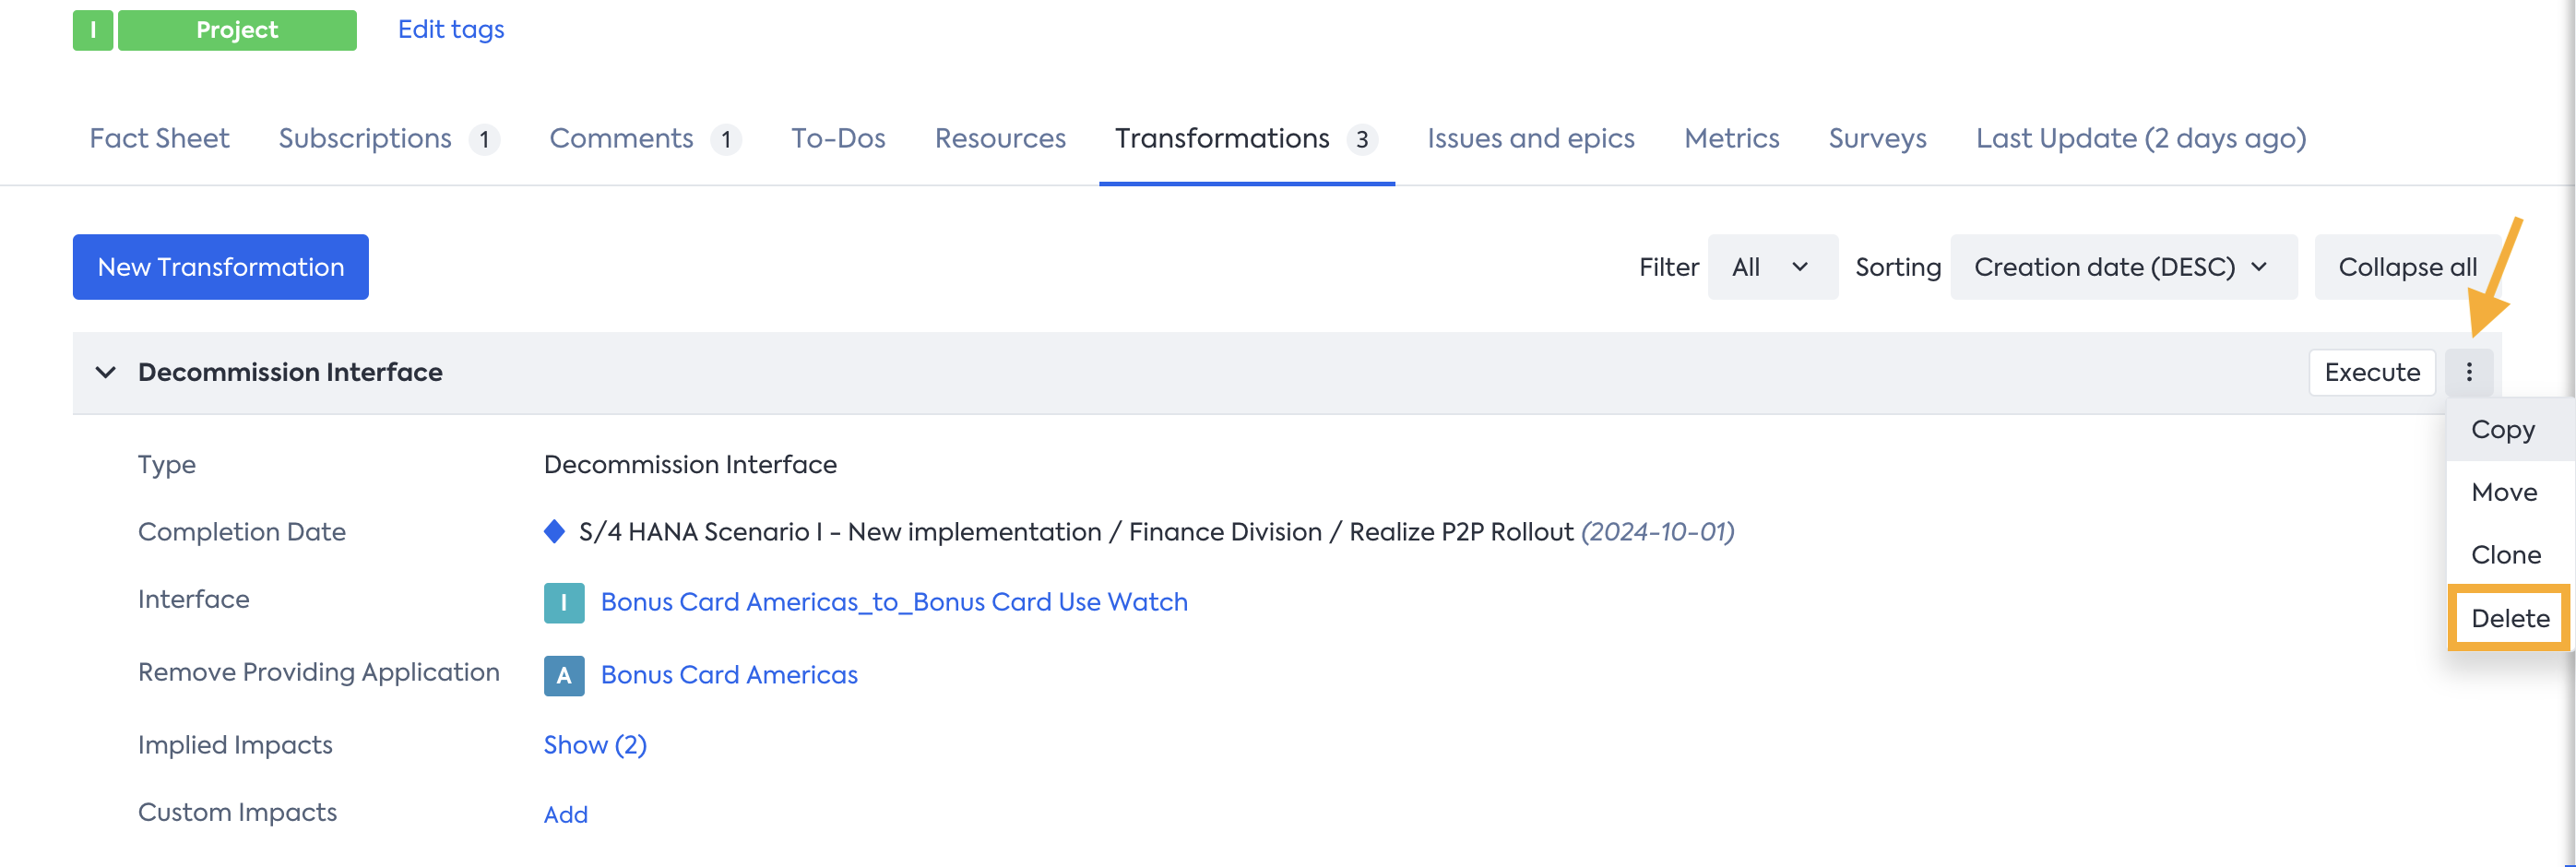
Deleting Transformations
Executing Transformations
Executing the Transformation makes all implied impacts a reality. This implies that the impacts are now realized in your active as-is architecture.
To execute a Transformation item, follow the below instructions:
- Navigate to the Transformation tab in the Fact Sheet.
- Hover over the name of the Transformation you want to execute, and you will see the Execute button appear in the right corner.
- Click Execute to execute the Transformation.
Note
You can edit, delete or execute a Transformation from the Transformation Explorer as well. Learn more about it in the next section.
Transformation Explorer
The Transformations Explorer gives a comprehensive overview of all Transformations of the workspace. It allows you to search by name, apply sorting and filtering, make edits, delete, and execute Transformations - all in one centralized location.
To access the Transformations Explorer, follow these steps:
-
In the Inventory, click on the Project Fact Sheet type. This action filters the inventory to display all Project Fact Sheets.
-
Locate the Transformations Explorer button under the Additional Resources section on the right panel.
-
Click on the Transformations Explorer button to open it.
Accessing Transformation Explorer
Filtering Transformations
Filtering for Transformations relies on the filters set in the Inventory. By applying filters in the Inventory, you can narrow down and display specific Fact Sheets. After that, when you open the Transformations Explorer, only Transformations related to those filtered Fact Sheets will be displayed. This allows for a targeted view of Transformation associated with the filtered Fact Sheets.
- Status: This refers to the current state or progress of a Transformation, with the following options - 'Open,' 'Not Executable,' 'Successful Execution,' and 'Failed Execution.'
- Transformation Type: You can filter Transformations based on the type of Transformation template used.
- Completion Date: This filter allows you to focus on Transformations completed at a specific point in time or within a defined time period.
- Created (by): You can filter Transformations based on the user who initiated the creation.
- Updated (by): This filter allows you to focus on Transformations that were recently modified by a specific user.
Sort Transformations
In the Transformations Explorer, you can sort the Transformations by: Fact Sheet Name, Status, Completion Date, Created by, and Updated by. This allows you to customize the display order of Transformations based on specific attributes.
Managing Fact Sheets Created by Transformations
The Fact Sheets created as part of the Transformation will maintain the status - 'Planned' until you decide to execute the Transformation. In Reports, you can use it as a filter criterion to narrow down to Fact Sheets created by Transformations. This filter criteria can be accessed under Transformation Status.
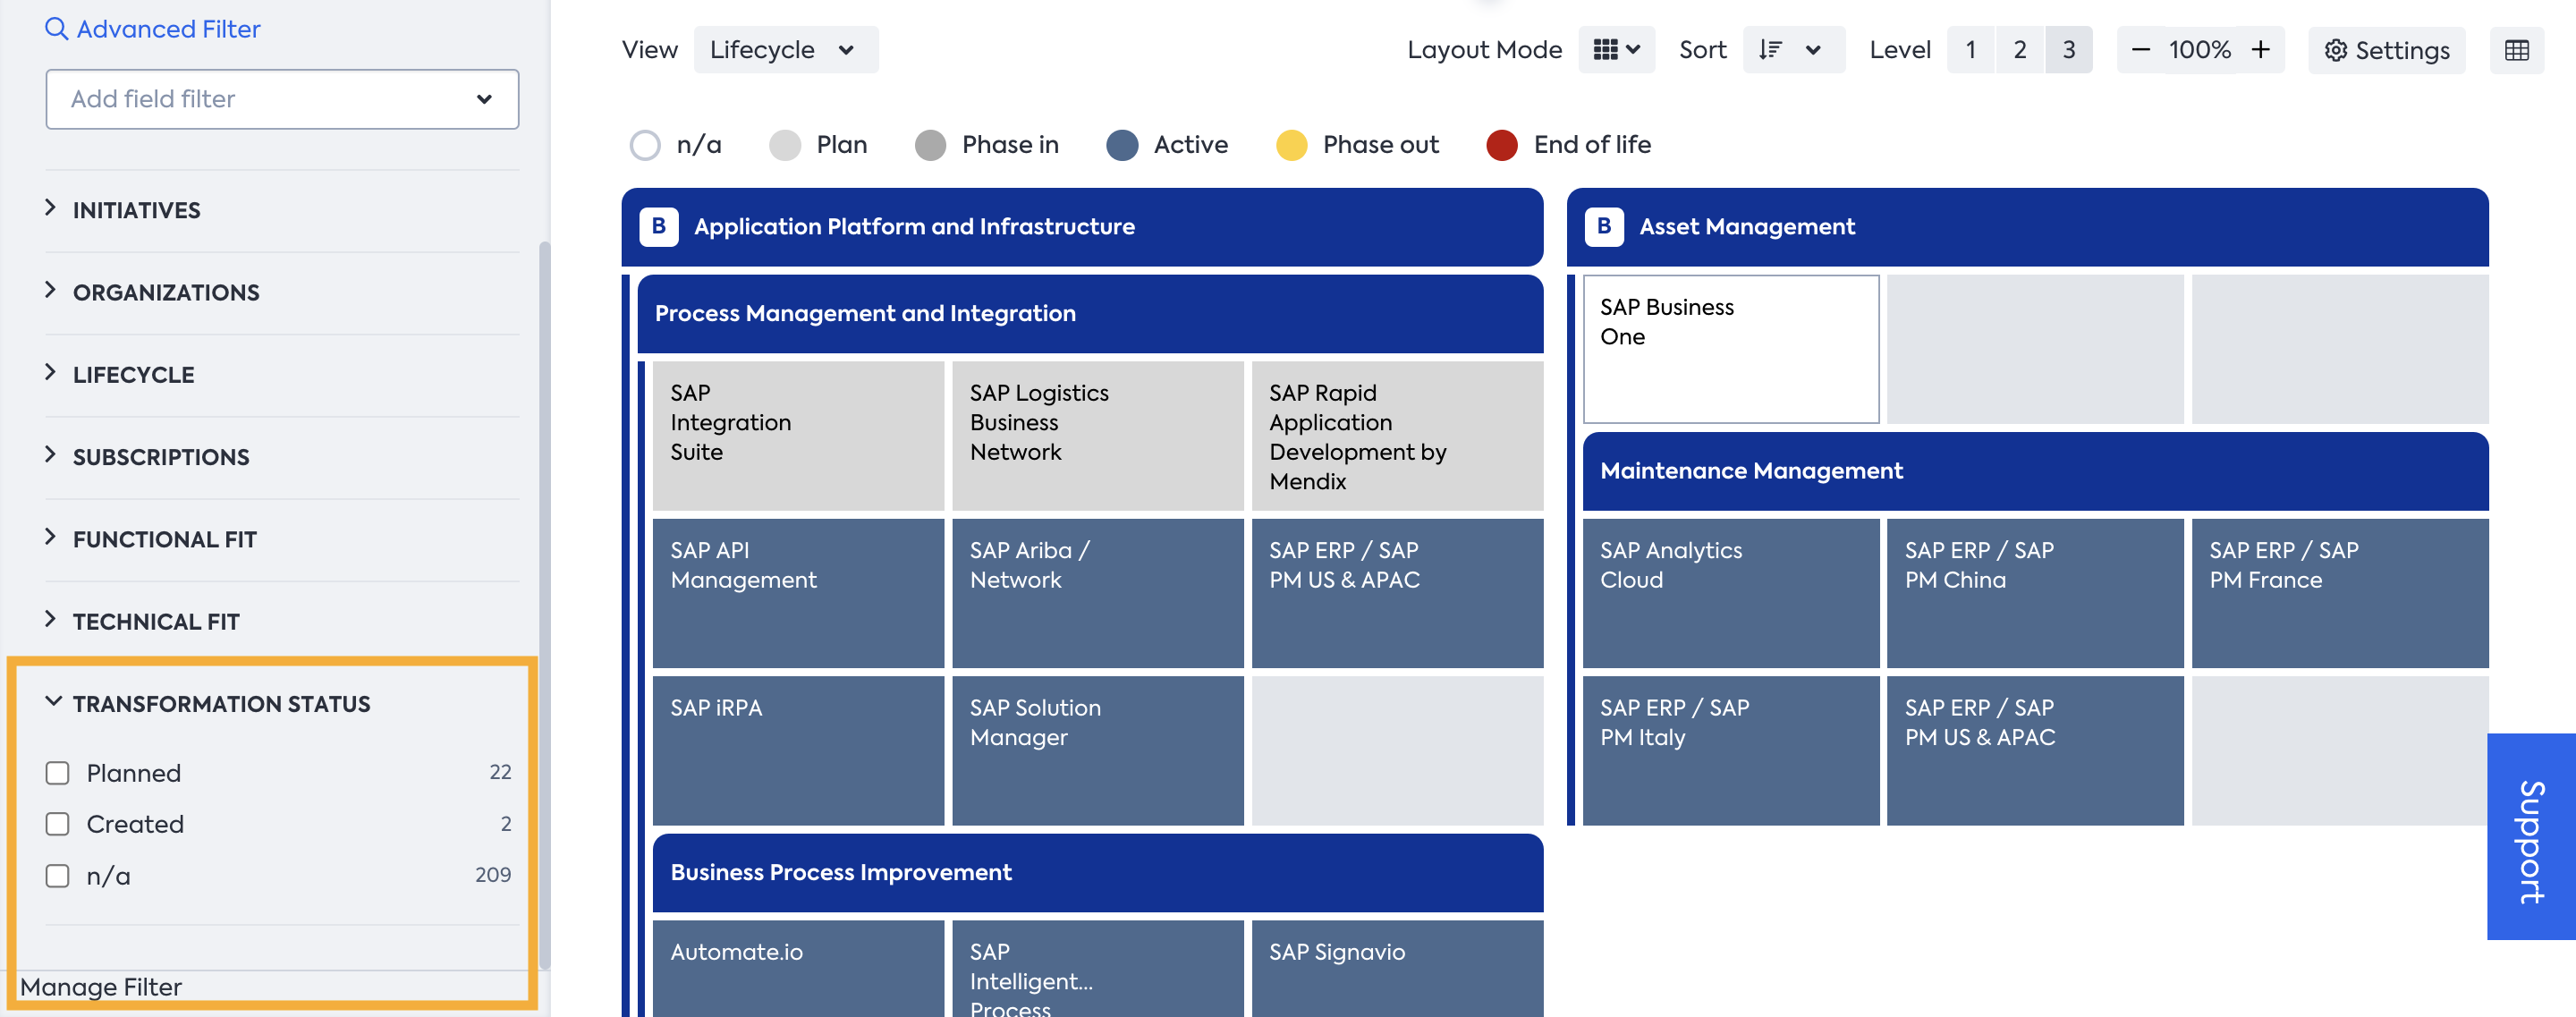
Transformation Status filter
For proper deletion of a Fact Sheet created by a Transformation, instead of archiving it through the Fact Sheet menu, delete the Transformation from which it was created. This action will promptly remove the Fact Sheet from the inventory along with all associated relations.
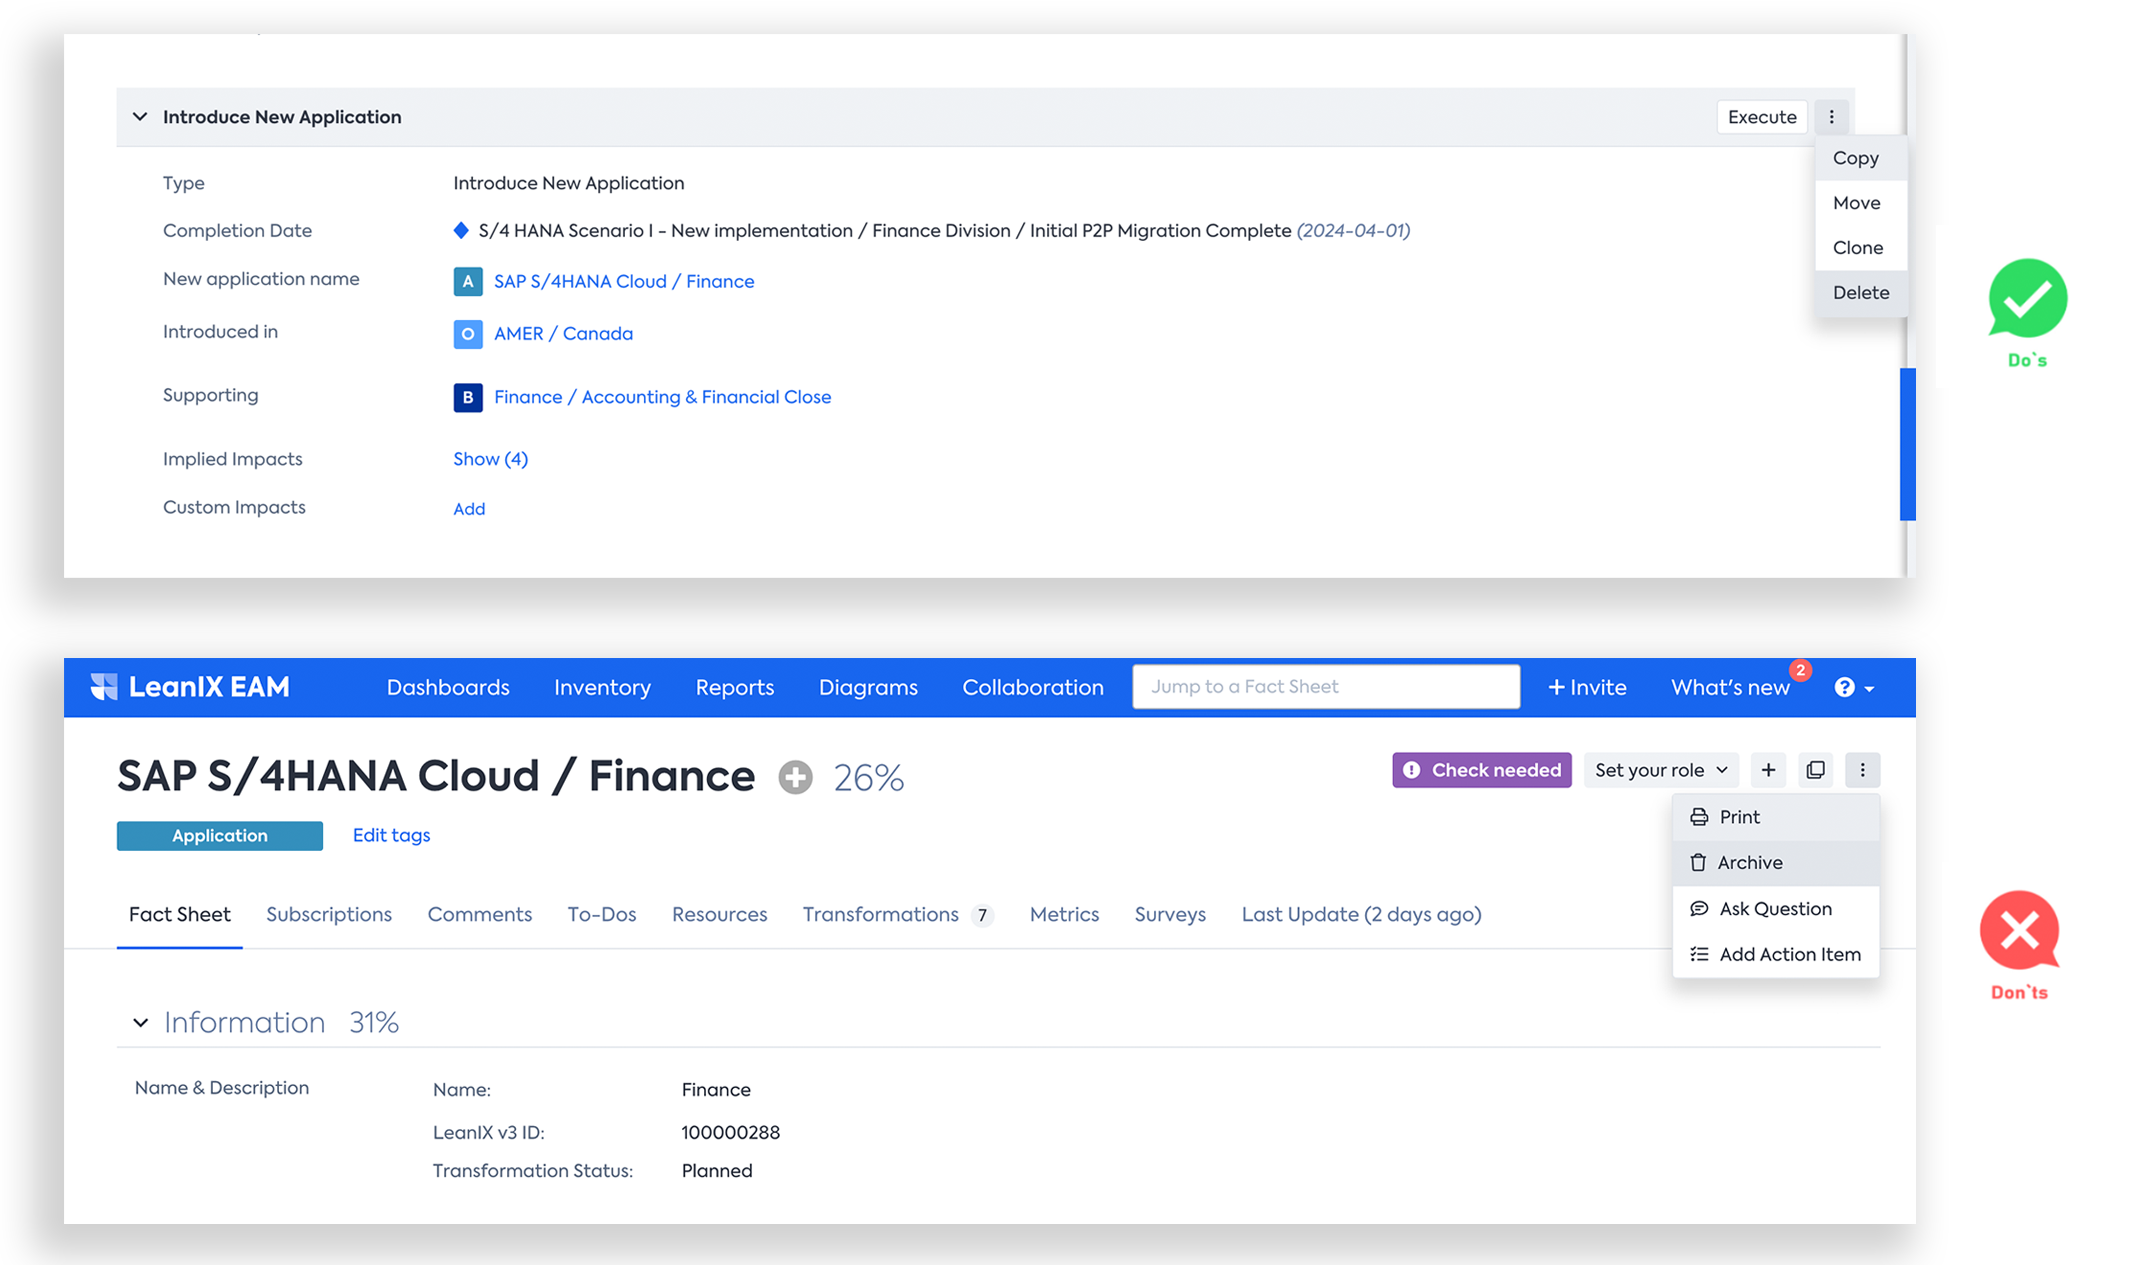
Deleting Fact Sheet created by a Transformation
Caution
Do not add custom values or remove existing values in the transformation status (
lxTransformationStatus) and impact type (lxImpactType) fields through metamodel configuration. These fields are managed by the transformation service and are automatically updated when a transformation is created. Modifying them by adding custom values or removing default ones can cause errors and disrupt the proper functioning of the transformation.
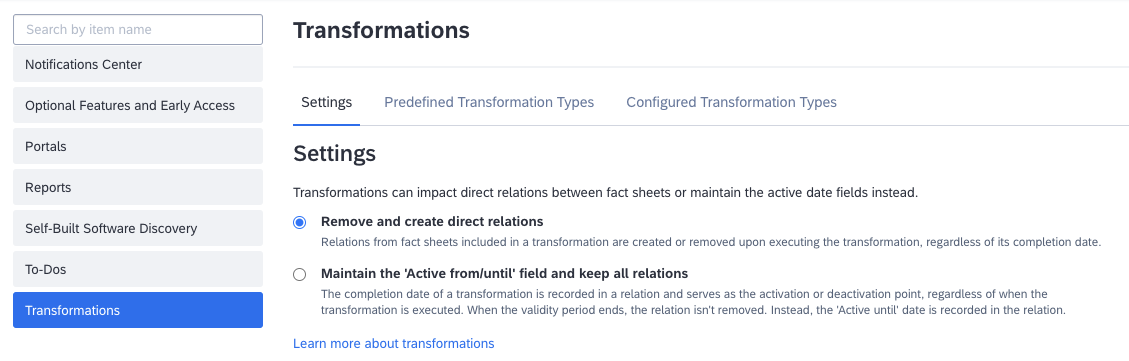
Configuring Relation Settings for Transformations
Admin users can configure which impacts to use when creating relations to fact sheets included in transformations. This setting only applies to predefined transformation templates.
To configure relation settings, go to the Transformations section in the administration area and select the option you need:
-
Remove and create direct relations: This is the default option. Relations from fact sheets included in a transformation are created or removed directly upon executing the transformation, regardless of its completion date.
-
Maintain the 'Active from/until' field and keep all relations: The completion date of a transformation is recorded in a relation and serves as the activation or deactivation point, regardless of when the transformation is executed. When the validity period ends, the relation isn't removed. Instead, the "Active until" date is recorded in the relation.
This option lets you document past relations since they aren't removed. Switching back to the Remove and create direct relations option removes historical data, except for relations created through transformations executed while the “Active from/until” option was active.
Configuring Relation Settings for Transformations
Updated 3 months ago